Quick guide to adding a new user
- Click Admin – Users – New
- Complete all the required fields, entering their Email address as their Username.
- Select the correct site
- Click Save
- Click Send login details to users
Adding a new user
Click on Admin in the menu bar. In the sub menu click on Users . The page for managing user accounts is displayed (see image below).
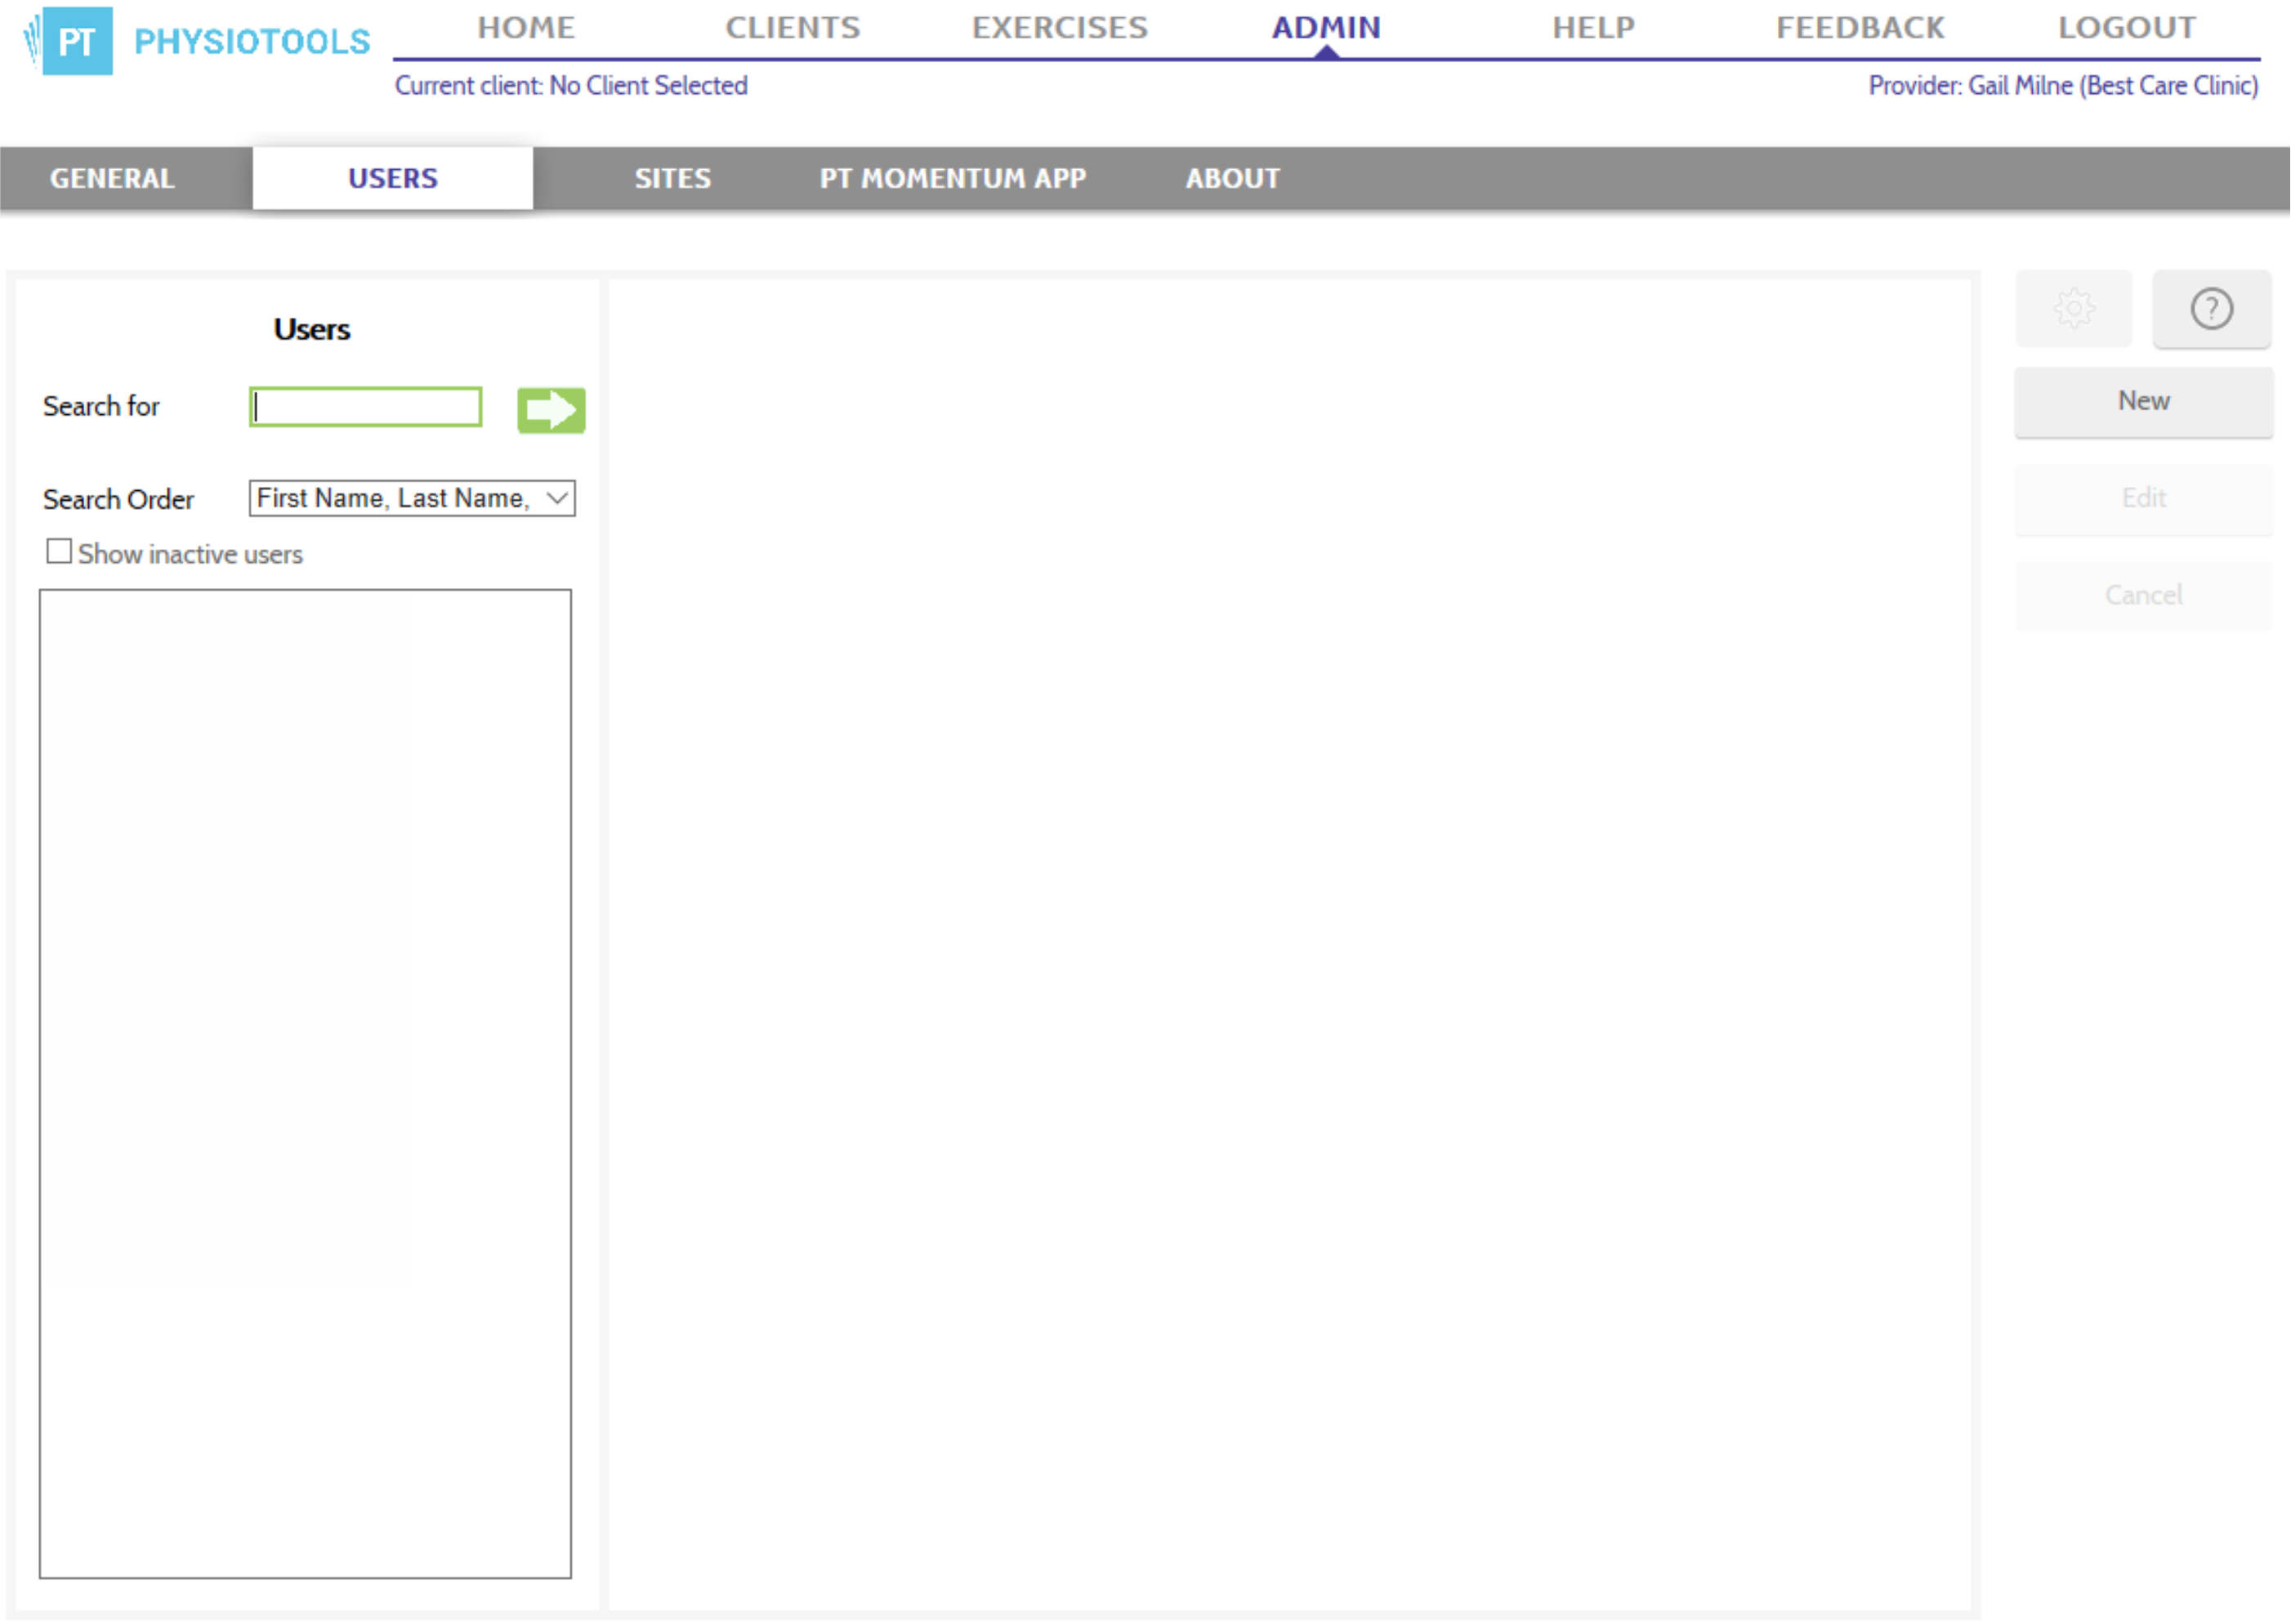
Click on New that you see on the right of the users page (see image above). An empty form is opened where the user information can be added (see image below).

First name: Users first name.
Last name: Users last name.
Site: This automatically displays the same site that you are the site administrator for.
Department: Not mandatory but can be specified if you need to clarify which department the user belongs to.
Title: Enter the user’s title here.
Email: Adding the email address allows you, as an administrator, to send the account information directly from the system to the user. When you click Save after completing the form, a button will be displayed that lets you send the login information directly to the user.
Username: The system will automatically present a suggested user name, however we suggest you use their email address as their Username.
New password: The system suggests an advanced password. The suggestion can be overwritten with your own choice of password.
Verify new password: You need to enter exactly the same password again.
Show button: clicking on this shows the password entered as plain text.
Default language: If the user’s native language is not English, you can search the drop down list for an alternative. If you choose another language here, it will change the program interface for that user.
Valid from: enter a start date for when the user account is to be activated.
Expires on: You can specify an end date for when the user account is to be disabled.
Site Administrator: If the person you create the user account for is to also have the role of site administrator, this box should be selected.
Personal Licence: This box will automatically be checked so that one user will always have a licence available.
Enabled user: This is automatically selected when you create a new user account. This box should only be cleared when you want to disable a user account. The account will be locked immediately when the box is cleared.
Notes: You can enter notes about the account if necessary (only visible to administrators).
When the form has been completed, click on Save that you see at the top right of the page (see image above).