To upload your own image, click on the link, + Upload image, at the top right of the Exercises page (see the red arrow in the image below).

When the link is clicked, a dialog box opens that lets you; upload an image, write a title for the exercise, enter instructional text, determine whether others can use your exercise, add search words for the image, save the exercise in a specific module and share the module with your colleagues (see image below).
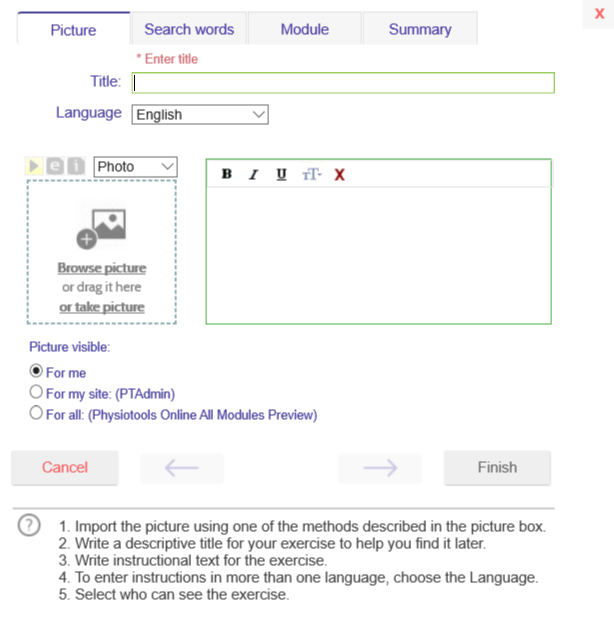
Picture tab. The following options are available:
Title. Enter a relevant title for your exercise.
Browse Picture
Click on Browse Picture. A window opens where you can search for an image file on your computer that you want to upload. You can specify whether the picture is a photo or drawing. If you have a video sequence that illustrates the exercise published, for example, on YouTube, you can click on the yellow arrow button at the top of the Picture window and enter the URL of your video. This video will then be associated with your uploaded image. If you have evidence for the exercise published in an article, you can use the “e” button to enter the URL of this article.
or drag it here (drag and drop image files)
Image files can be dragged directly into the picture dialogue box.
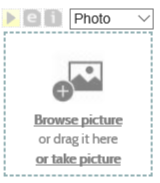
or take picture
If your device/browser supports a local camera then clicking ‘take picture’ automatically opens that local camera.
If the local camera/camera API is not supported, then ‘take picture’ opens a QR code which can be used to take/upload a picture with an external device:

The following is a list of QR-code scanners that have been tested to work with Physiotools:
- QR Code Reader By: Application4u
- QR Code Reader By: Duy Pham (MMLab)
- QR Droid Private By: DroidLa
- QR Code Reader By: QR Scanner & Barcode Reader
- QR Code Reader By: Scan Mobile, Barcode Reader
- QR Code Reader By: Green Banana
- QR Code Reader By: Best App – Top Droid Team
- QR Code Reader By: Sustainable App Developer
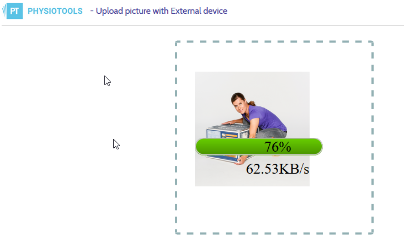
When you scan the QR-code you will see an external device upload dialogue box (as shown below):

The dialog box is the same as the one in the original Physiotools window. You may now use it to take a picture or select one of the existing pictures stored on that device.
When the upload is complete, the upload page shows the following message:
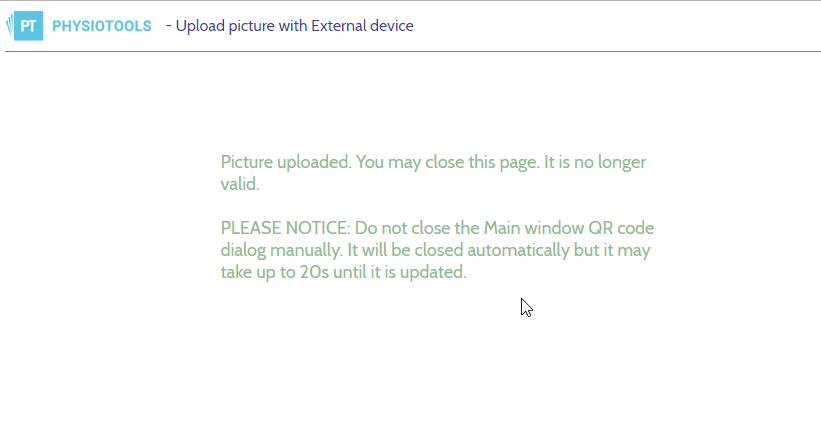
The QR code will automatically close (after a short time) and the new picture will appear in the Physiotools window. You may also click the QR-code OK-link after uploading the picture to show the picture immediately.
Most mobile devices provide the option to select a camera within the browse dialogue box.
If you click the QR-code the system shows the URL behind the QR-code. You may copy this link and send it by email (or by any other method) to any device. Open the link with the desired device and you will see the external device upload dialogue box. This way even devices without a QR-code reader can be used to take pictures. However, the QR-code makes it a lot easier.
Clicking the QR-code dialogue box red X-button will cancel the upload. If the upload is already started it will continue but when complete, it shows an error message and the picture will not be saved.
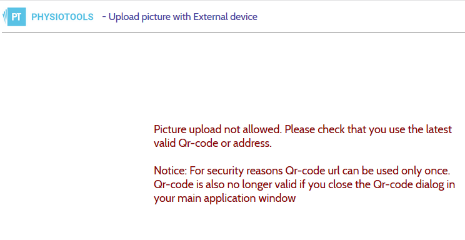
The same error message will appear if you try to use the same URL again (old QR code), if the original upload picture dialog box is closed or the session is ended (logout).
Charging speed and status
During the loading process, you can see the speed at which files are loaded and what the current status is.
Rotate image files manually and automatically
Loaded image files can be rotated 90 degrees by clicking on the ![]() icon. If the metadata of the file indicates it, the image will automatically be in the correct position.
icon. If the metadata of the file indicates it, the image will automatically be in the correct position.
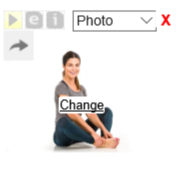
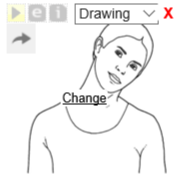
Insert different image versions
You can add a photo and a drawing for the same exercise. To do this, select Drawing or Photo from the drop-down menu.
Instructional text. Type the instructional text for the exercise.
Language You can write and save the title and instructional text in another language other than your own. From the drop-down menu, select the language and type the title and instructional text in that language. You can select additional languages if required. Remember that changes will not be saved until you click Finish.
Picture visible. Select who can see your exercises:
- For me: only you can see and use the exercise .
- For my site: your colleagues who belong to the same site as you can see and use the exercise.
- For all: anyone who has access to your installation can see and use the exercise.
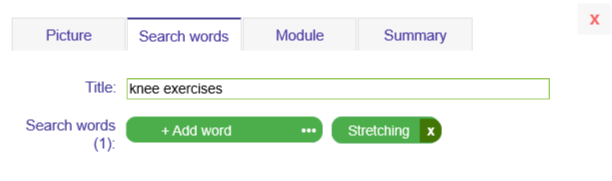
Search words tab (see image below).
Assign search words from the Physiotools search categories to your template by selecting from the search words in the search words tab.
By clicking +Add word, you activate the search word selection (see image below). This allows you to assign search terms to your exercise according to the existing categories on the Exercises page. These can be used later when searching for suitable templates.
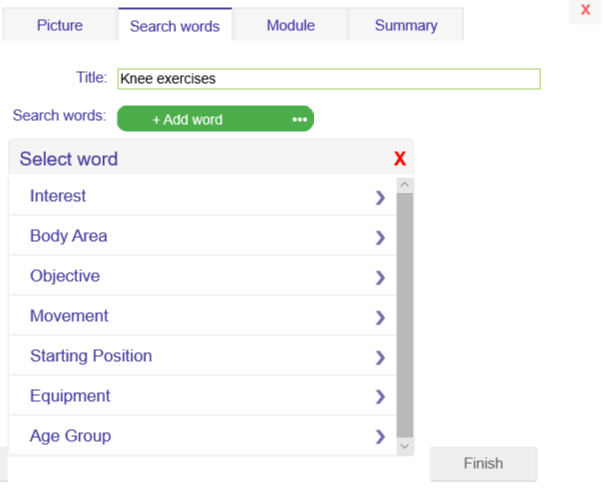
If the desired term is missing from the Physiotools selection, it is possible to add new search words to use with the Free Text Search by typing in the Search words box (see image below).
Write the full search term in the Search Words input field, and then click Create new search word. The program then asks if you want to save the search word as a new search term in Free Text Search. When you accept, the term will be assigned to your exercise/template.

Module tab. You will see a list of previously saved modules where you may choose to save the exercise or click on New to create a new module for your exercise. A dialogue box opens where you enter a title for the module and you can decide who should see the module.
When the title and visibility of the module is specified, click the Save button. The dialogue box will close and, in the underlying window, you will see the new exercise saved in the module that you have just created.
Summary tab. Shows an overview of your specified information for the exercise. If you are happy with it, click the Finish button and the exercise will be saved.